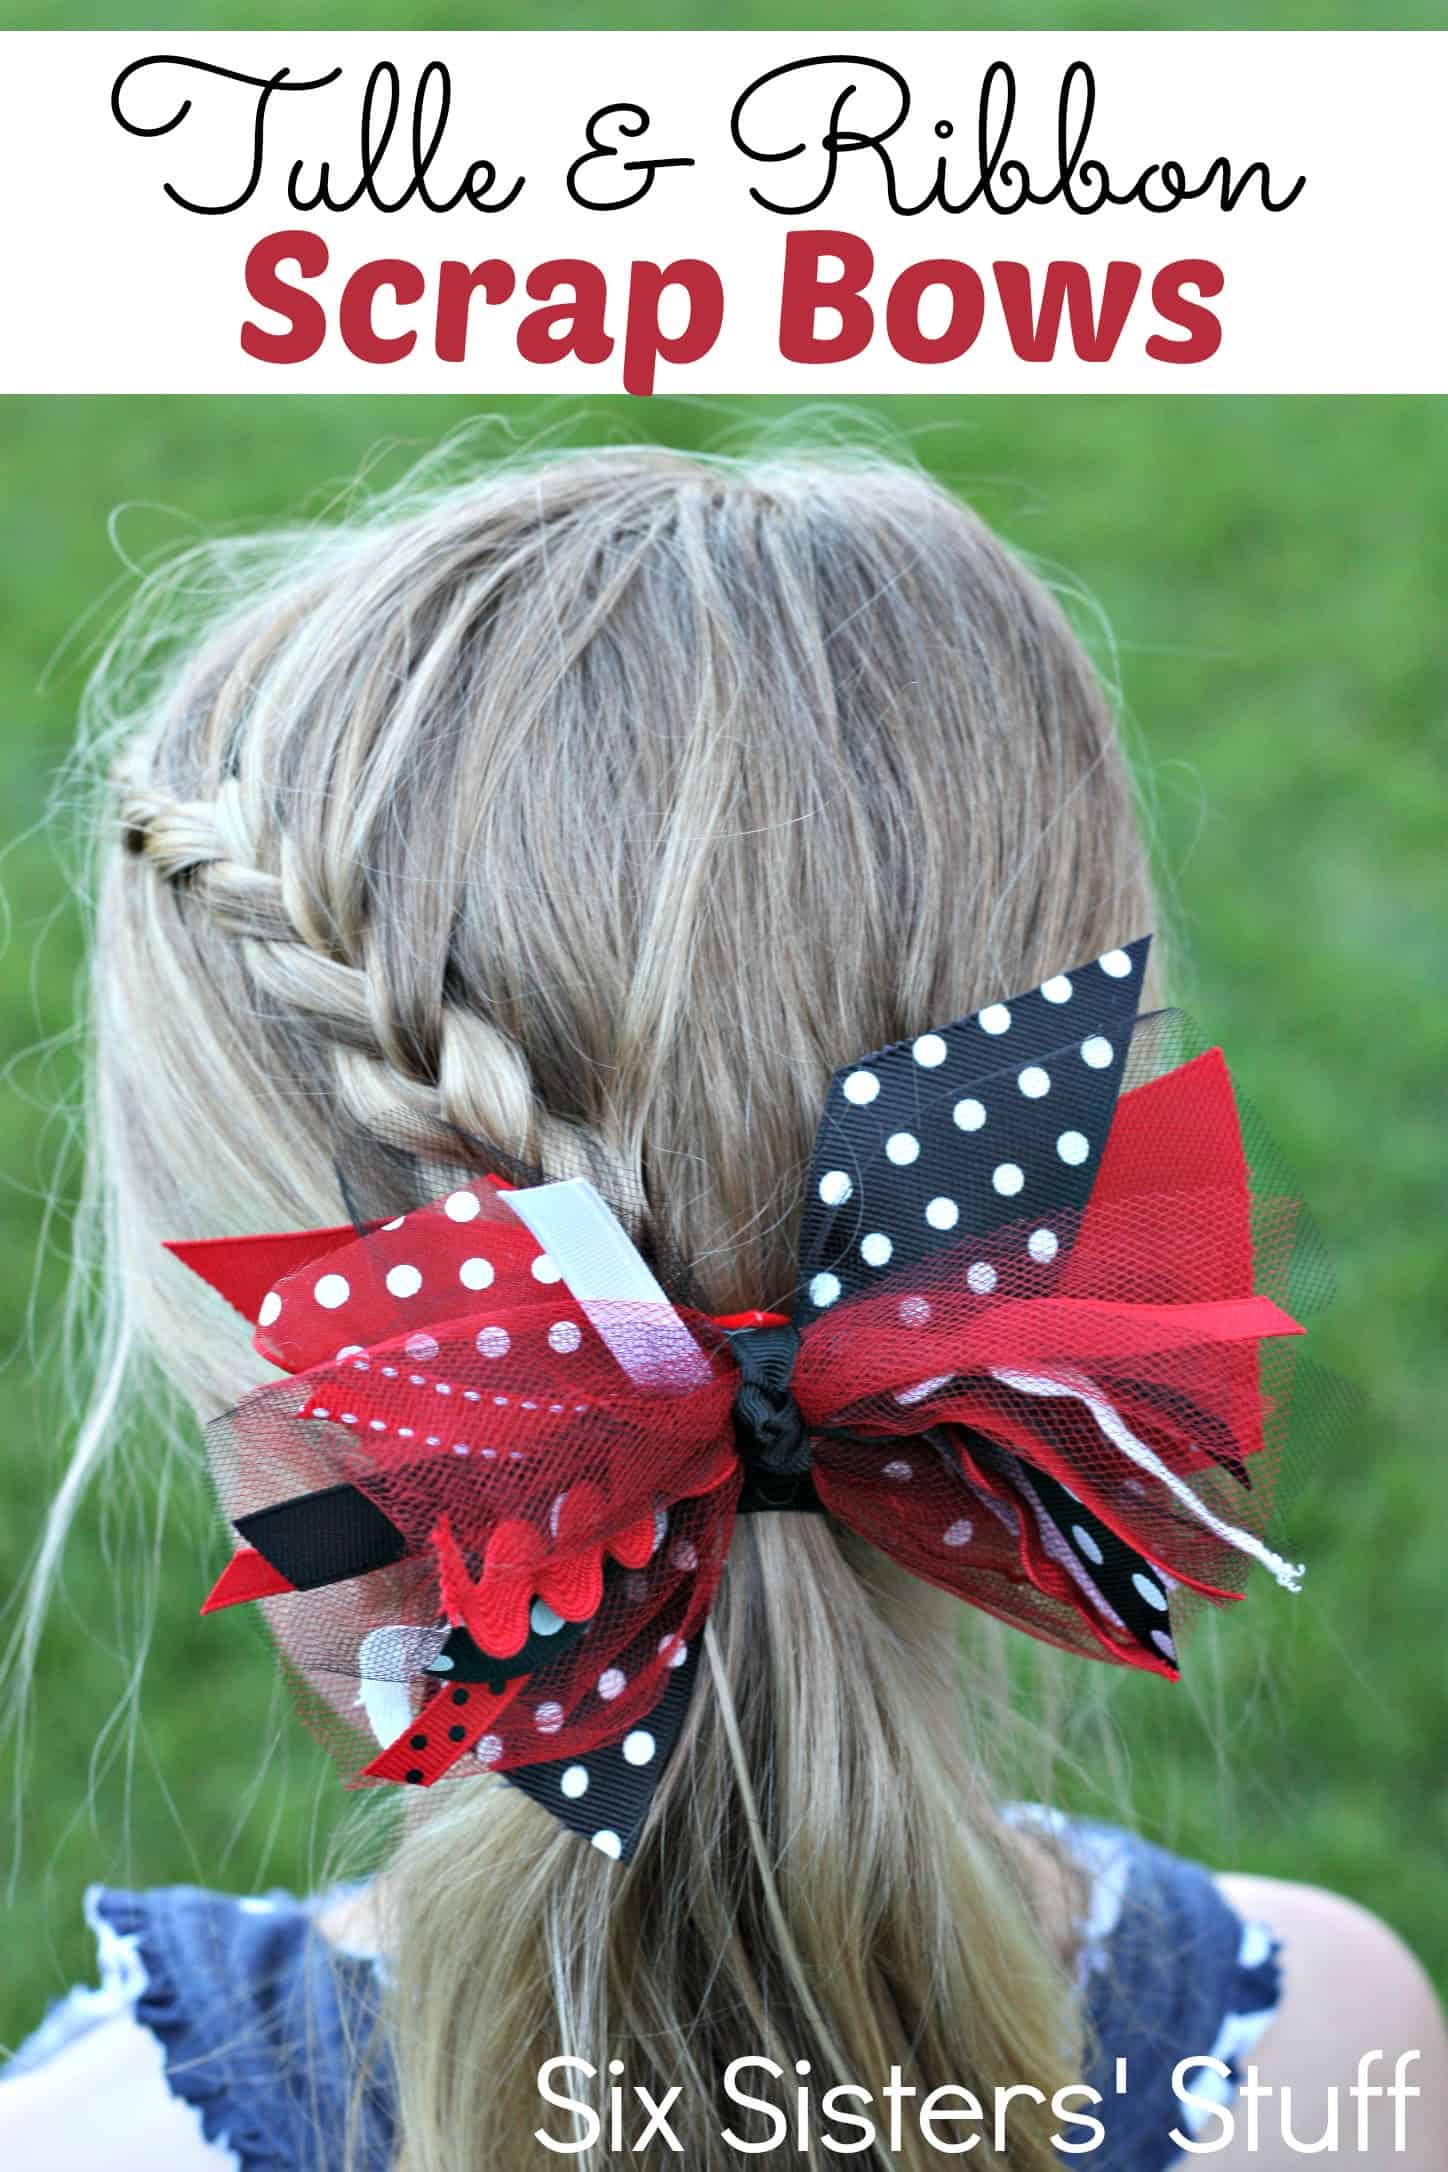
I love to make hairbows for my daughters (and when my first daughter was born, she had a matching bow to go with every outfit!), but it’s hard to find the time to sit down and tie a million ribbons together in complicated ways. As I was looking at my ribbon stash, I realized that there had to be a way to use up some of my ribbon collection and a fast way to make some cute bows for my girls.
So, I started cutting my ribbon into small lengths, using all those random pieces of ribbon that I never threw away, and the end result was a cute and easy “scrap” bow- using all my scraps!
Over the years, I have made dozens and dozens of these bows- they really are my go-to bow when I need to quickly make a hairbow for my girls. I love that you can make them as small or as big as you like (bigger is better in my humble opinion . . . my husband completely disagrees!).
Here are the easy step-by-step instructions to make your own Tulle and Ribbon Scrap Bow:
 First, gather all your scraps of ribbon.
If you are not a ribbon hoarder like myself, check out the ribbon Grab Bags from The Ribbon Retreat.
For a low price, you can purchase an entire bag full of a huge assortment of ribbon scraps!

Organize all your ribbons by color- this will help make the job easier when you decide what color of bow you want to make.
(And they look pretty! Ha ha!)

Decide what color scheme you want for the bow.
My cute daughter has a lady big shirt and wanted a fun bow to match.
(If you want to cut out the decision making process, The Ribbon Retreat sells ribbon packs with pre-matched colors that look so cute together!)

Cut all your ribbons to be about 6-7 inches long. If the ribbon is wrinkly, use an iron on a warm setting to get the wrinkles out.
I also like to use Ric Rac in these bows- really, scraps of anything will do!

To add extra volume and texture to the bows, I like to use tulle in-between my ribbon.
I found these mini tulle rolls for only $1.99 and they work perfect for these bows! I love that they are only 3″ wide.

Cut off 3-4 pieces of tulle, each about 6 inches long. I like to use more than one color of tulle, but go with whatever you like best!

Now that your ribbons and tulle are all cut, it’s time to start stacking them. Make an “X” by having your ribbons cross in the center of the bow.
I usually layer 2 pieces of ribbon and then alternate with a piece of tulle. You can do as much or as little ribbon and tulle as you like.

Once you are done stacking, pinch all your ribbons and tulle together in the middle.

Using a piece of craft wire, wrap the wire around the middle (right where you were pinching the ribbons together).

Trim the edges down- you can make this bow as big or as little as you want by how much you trim each side.
I like the cut the ribbons at different angles to give it a more textured look.

Take a piece of ribbon (about 6 inches long) and tie a simple knot in the middle.
Put a dot of hot glue on the back of the knot and stick it right on the wire wrapped around the ribbon.
Wrap the ribbon around the back of the bow and glue both pieces down.

Trim any extra pieces hanging over (this is the back of the bow).
 As far as hardware, I prefer to use 3″ French Barrettes (for my 5 year old with thick hair) and single-pronged alligator clips (for my baby).
(You can get 20 of each barrette and clip for less than $2 at The Ribbon Retreat!)

Using a hot glue gun, glue your barrette or clip to the back of the bow and you are good to go!
Like I said . . . bigger is better!! 🙂

And since the grab bags from The Ribbon Retreat come with SO much ribbon, you can whip out a ton of bows in NO TIME at all!
Each grab bag has enough ribbon for you to make many hair bows!
Happy Bow Making!


Questions & Reviews